The Right Way To Air Dry Your Hair

The Art of Air Drying: How to Get Beautiful, Frizz-Free Hair Without the Heat
When temperatures rise, the blow dryer gets tucked away, and air drying suddenly sounds like the dream — effortless, heat-free, and easy. And it can be all of those things. But if you've ever let your hair air dry only to end up with a frizzy, flat, or oddly textured result, you know that "just let it dry" is a little more complicated than it sounds. The truth is, air drying is a skill. With a few adjustments to your routine and the right products on hand, you can go from frustrated to genuinely loving your natural texture — no heat required.
Why Air Drying Goes Wrong
Before we talk about what to do, it helps to understand why air drying so often disappoints. Most of the common frustrations — frizz, flat roots, uneven texture, tangles — aren't really caused by air drying itself. They're caused by what happens before the drying even starts, and how hair is (or isn't) handled during the process. Hair is at its most vulnerable when it's wet. The cuticle — that outer protective layer of the hair shaft — swells and lifts when saturated with water, making hair more porous, fragile, and reactive to friction. Anything rough, abrasive, or manipulative during this window has a direct impact on how your hair looks once it's dry. That's good news, actually. It means that getting better air-dry results is largely about what you do in the first few minutes after washing.
Start Strong: The Post-Wash Routine Matters Most
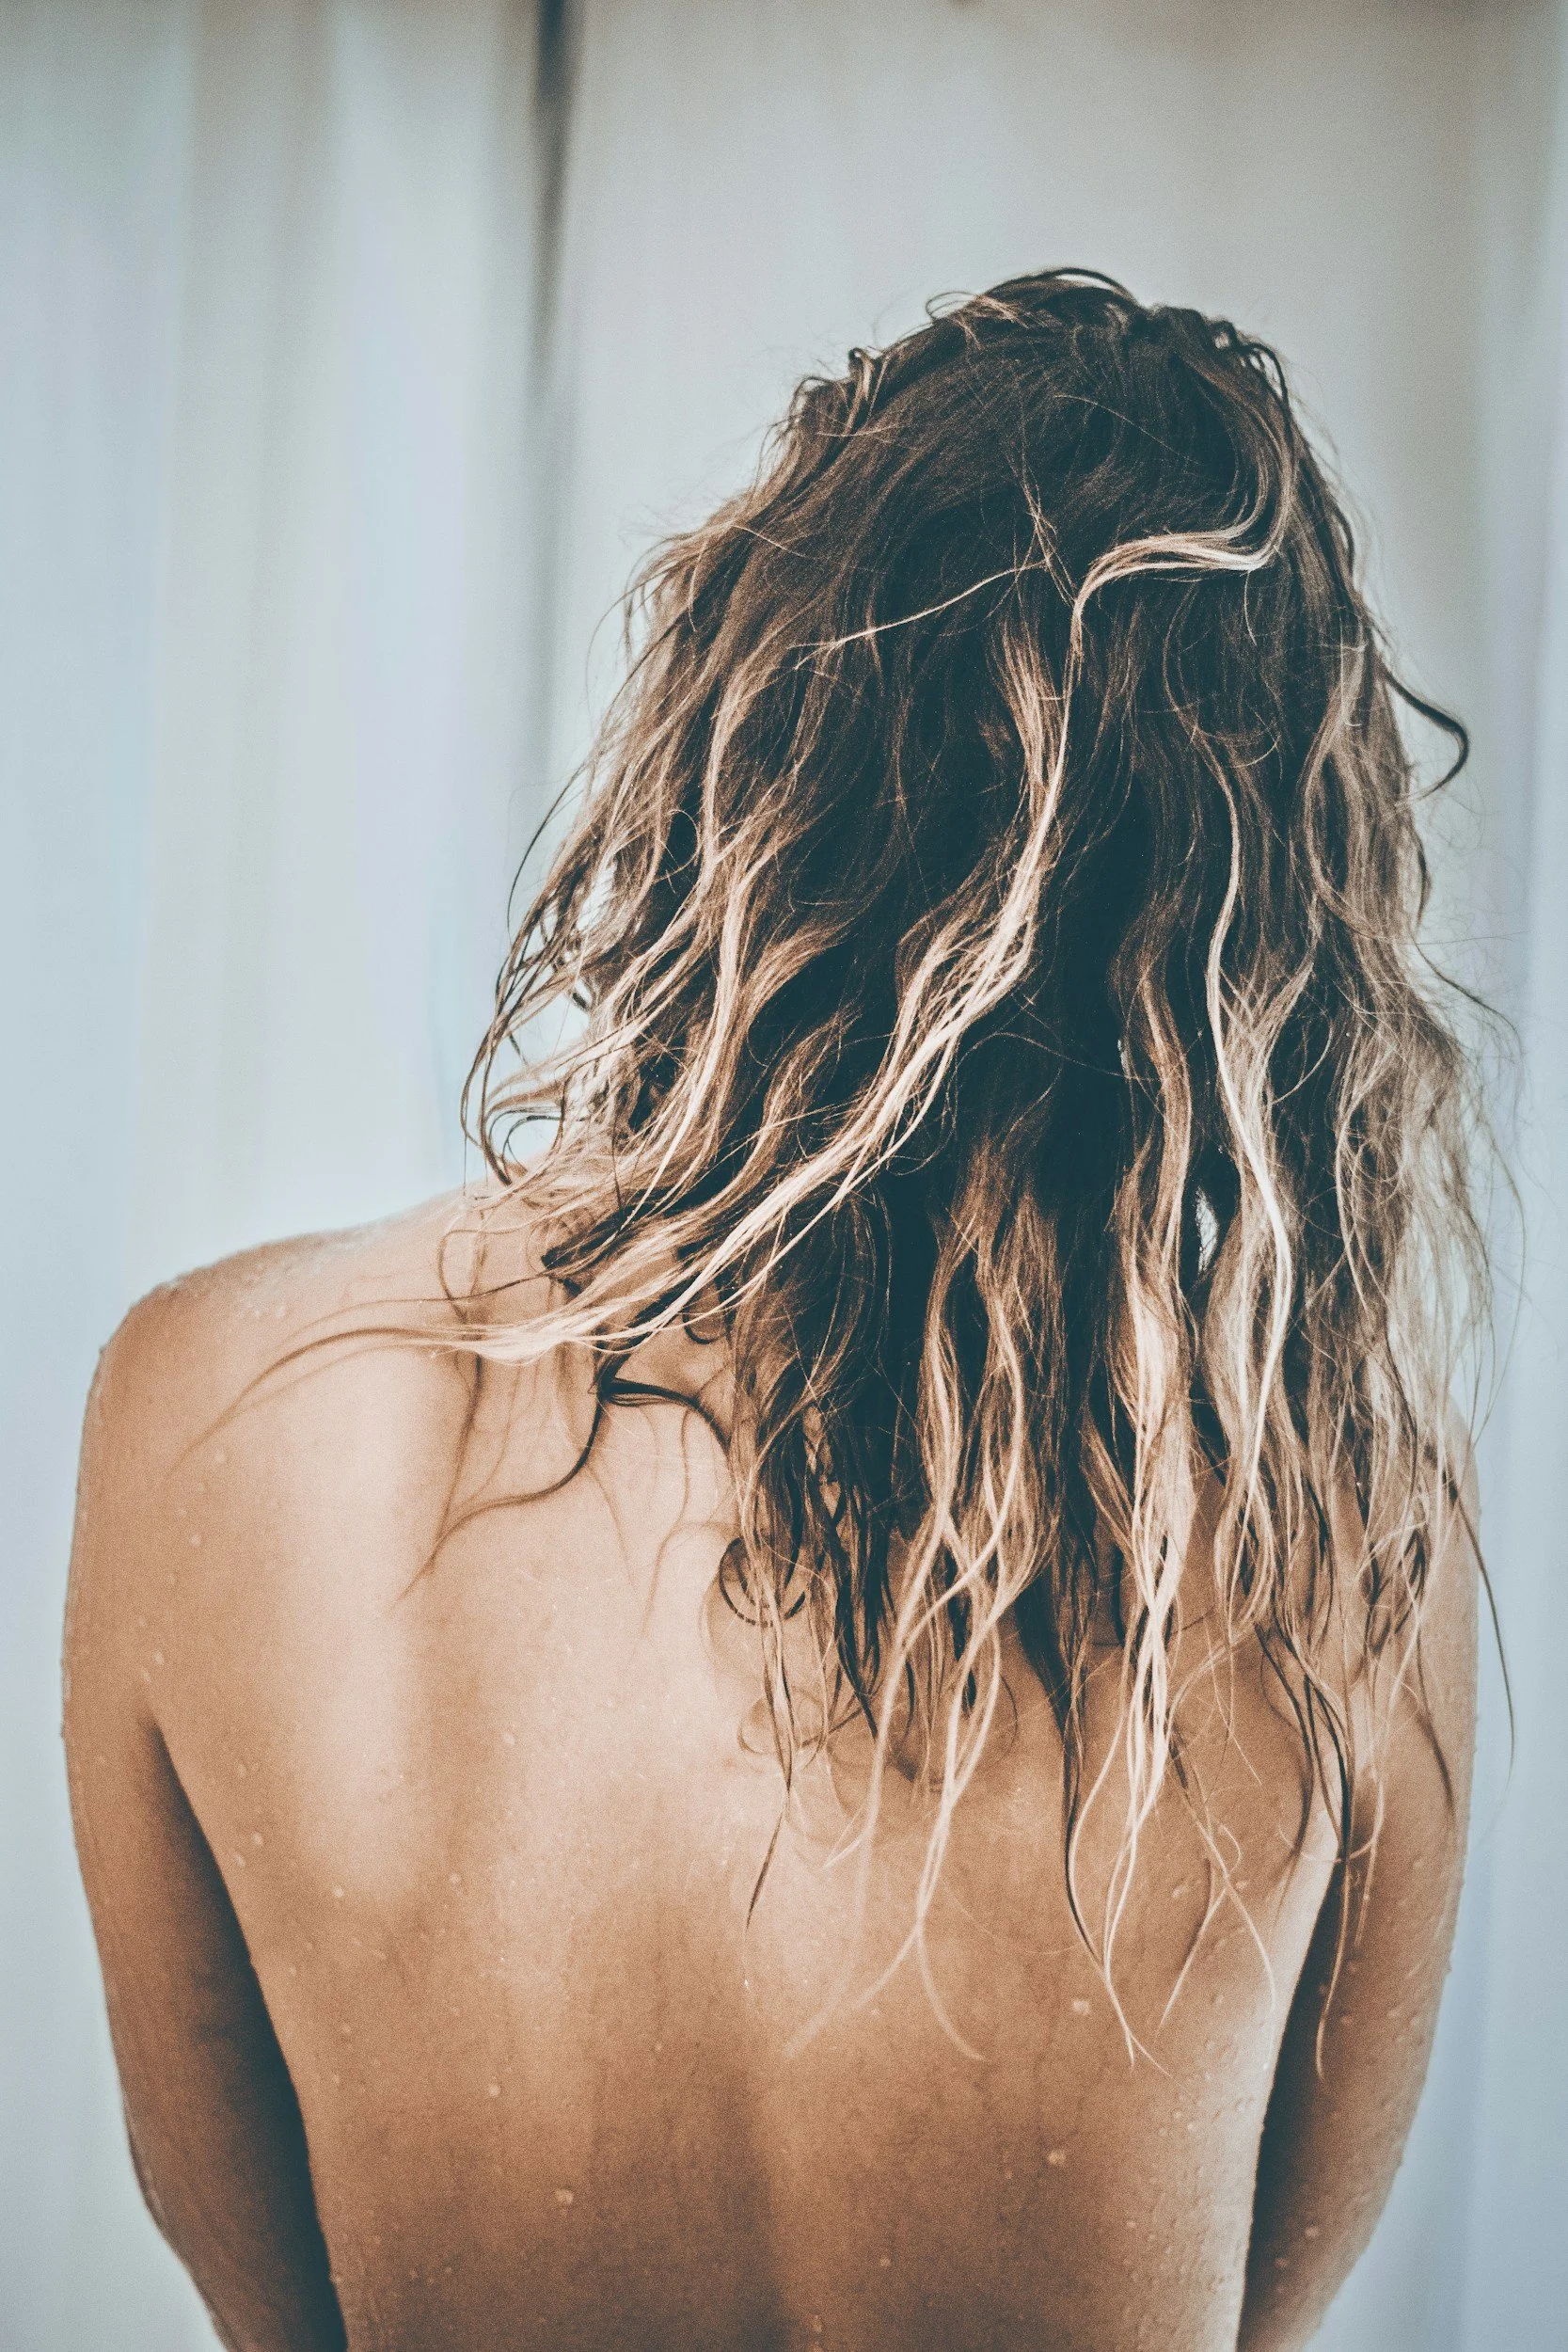
Step Away from the Regular Towel: Most people reach for a regular cotton towel after washing their hair — and that's one of the biggest contributors to frizz. The rough texture of a standard towel creates friction against the lifted cuticle, roughing it up further and essentially locking frizz in before your hair even starts to dry.
The fix is simple: switch to a microfiber towel. Microfiber is incredibly soft and far more absorbent than regular cotton, which means it pulls water out of your hair efficiently without the friction. Instead of rubbing (which is the real culprit), use a gentle scrunching or blotting motion to remove excess water. Your hair will thank you immediately. This one swap alone can make a noticeable difference for almost every hair type — but it's especially transformative for anyone with wavy, curly, or frizz-prone hair.
Squeeze, Don't Rub: Once you're out of the shower, the instinct is to grab a towel and go to town. Resist it. Gently squeeze sections of hair from root to end to push out water, rather than scrunching aggressively or rubbing in circular motions. You want the hair cuticle to start closing back down, not get roughed up further. If your hair is particularly long or thick, you can also wrap it loosely in your microfiber towel for a few minutes to let it absorb water passively — no friction needed.
Products Are the Game Changer: Here's the part most people skip, or get wrong: applying the right products while hair is still damp. This is the window where you can actually shape what your dry hair will look and feel like. Once hair is mostly dry, it's too late — products won't distribute evenly, and you're more likely to create buildup than results.
Find the Right Product for Your Hair Type
Not every product works for every hair type, so it's worth experimenting to find your match:
Wavy or curly hair tends to do best with a lightweight curl cream or a curl-enhancing gel. These help define your natural wave or curl pattern and keep everything grouped together rather than separating into individual strands (which is what causes frizz).
Straight or fine hair often benefits from a leave-in conditioner or a lightweight smoothing serum. Heavy creams can weigh fine hair down and flatten volume, so less is more.
Thick or coarse hair can usually handle richer creams or anti-frizz oils that smooth the cuticle and add weight to help hair dry in a more controlled way.
How to Apply Products for the Best Results
Application technique matters just as much as what you use. Work your product through damp hair using your hands — not a brush or comb, which can disrupt the natural pattern forming as hair starts to dry. Distribute evenly from mid-lengths to ends, then use your microfiber towel to gently scrunch upward from the ends toward the roots. This encourages your natural texture to form while helping the product absorb into the hair shaft.
The Hardest Part: Leaving It Alone
Once you've applied your products, the most important thing you can do is... nothing. This is genuinely the hardest step for most people, but it's crucial. Every time you run your fingers through drying hair, toss it over your shoulder, or push it out of your face, you're disrupting the pattern that's trying to form and introducing friction that creates frizz. The more you touch your hair while it's drying, the less cooperative it'll be by the end.
If you're going to be active or out and about while your hair dries, loosely clipping the roots up with a claw clip can help add volume and let air circulate without requiring you to constantly move hair out of your face. Just avoid tight elastics or styles that put tension on wet hair, which can cause breakage.
A Few More Tips Worth Knowing
Dry in a good environment when you can. High humidity means hair takes longer to dry and has more opportunity to absorb moisture from the air, which contributes to frizz. If you're at home, a fan or light airflow can speed up the drying process without adding heat damage.
Detangle before you style, not after. If your hair tends to tangle, work through knots gently with a wide-tooth comb while hair is still very wet and conditioner is still in — before you rinse. Trying to detangle once products are in disrupts the texture you're trying to build.
Don't skip your scalp. A lot of air-drying tutorials focus entirely on the mid-lengths and ends, but flat roots are a common complaint. After applying your products, try flipping your head upside down for a few minutes while it starts to dry to encourage lift at the root.
The Bottom Line
Air drying is absolutely a healthy, heat-free option — and with a little preparation, it can give you some of your best hair days. The key is treating the post-wash window like the most important part of your routine, because it is. Ditch the regular towel, invest in a good microfiber option, choose the right products for your texture, apply them while hair is still damp, and then give your hair the space to do its thing. A little patience and the right approach can be the difference between a frustrating frizz situation and effortlessly beautiful, natural-looking hair — no heat required.
Have questions about which products are right for your hair type? Ask us at your next appointment — we love helping you build a routine that actually works for you.